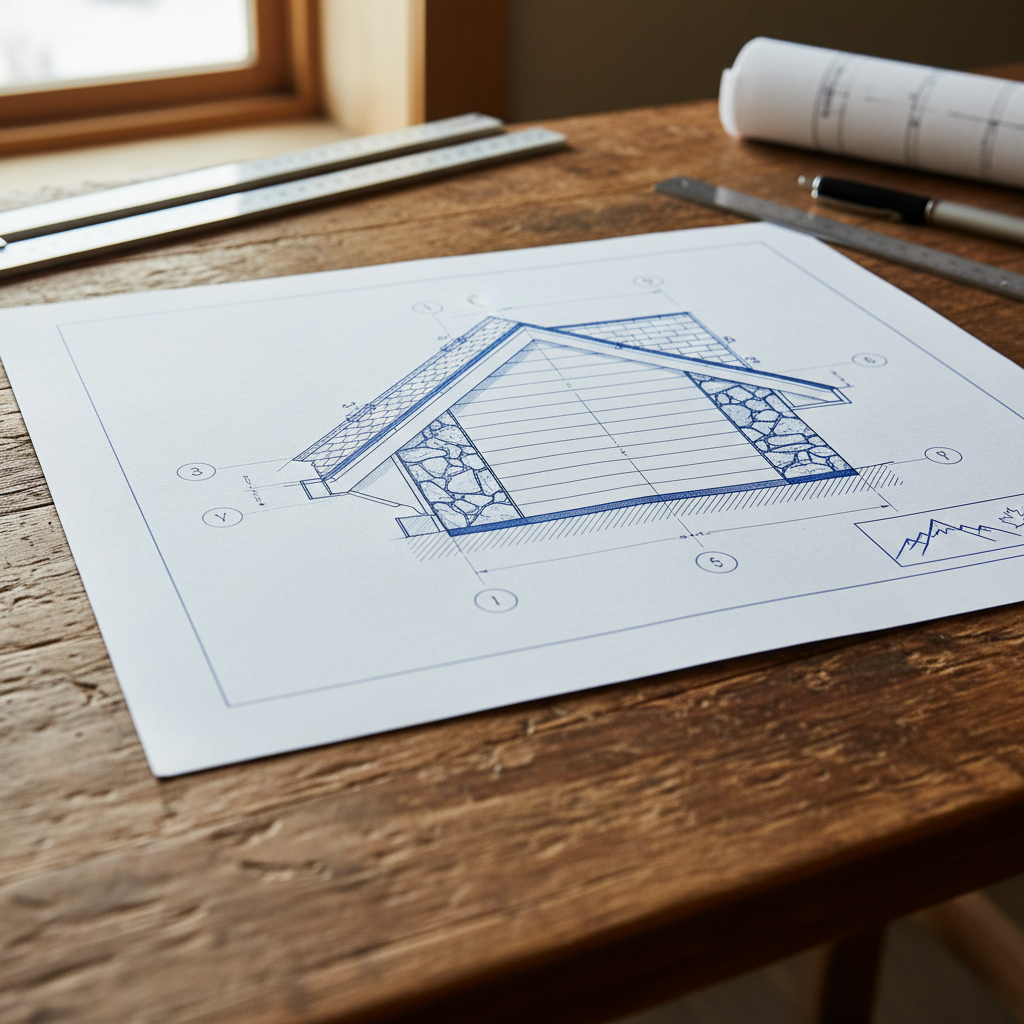
Unmitigated water intrusion at roof-wall intersections remains one of the most persistent sources of building envelope failures in the province. In Alberta’s climate, where freeze-thaw cycles, wind-driven rain, and ice dams challenge exterior assemblies, the reliability of every flashing detail becomes paramount. Kickout flashing, often underestimated and occasionally omitted on site, serves as an indispensable diverter, channeling runoff from roof slopes away from vulnerable wall assemblies and safely into the gutter system. Without this relatively small piece of flashing, unchecked moisture finds its way behind exterior cladding, leading to an array of issues from concealed rot in wood framing, insulation saturation, and stubborn mold outbreaks that are expensive and disruptive to remedy.
The necessity of precise kickout flashing detailing is underscored by the requirements of the National Building Code - 2023 Alberta Edition (NBC(AE)), which, effective May 1, 2024, reinforces essential protection at all intersections where sloped roofs meet vertical sidewalls. Even if “kickout flashing” may not appear in the code’s verbatim text, the requirement for functional water diversion at these junctions is unequivocal. For architectural drafters and those overseeing residential construction, clarity in documentation and an understanding of both the theory and practicalities of kickout flashing is key to safeguarding homes against premature deterioration.
Kickout Flashing: The Technical Imperative
At the interface where an eave returns into a wall, the convergence of rainwater and gravity poses a unique challenge. Water released from the lower edge of a sloped roof can sheet down the metal or shingle surface and follow the path of least resistance. Physics dictate that without an intentional diverter, a portion of this water will bypass the gutter and cling to the wall surface through capillary action. Over time, especially with Alberta’s temperature swings and seasonal storms, small defects compound into major failures: water finds its way behind siding, saturates sheathing, and puts vapor retarders to a test they were never designed to meet.
Kickout flashing, also called diverter flashing, mitigates this by acting as a “watershed” at the start of the step-flashing run. It is formed, bent, or molded at a strategic angle with a distinct “kick” out and away from the wall - and sized to extend the full width of both roof and wall claddings involved. This detail, when accurately drawn and clearly specified in construction documents, serves as the crucial first line of defense for any envelope assembly facing Alberta’s elemental extremes.
Drafting Kickout Flashing Details: From Plan to Execution
Drafting an effective kickout flashing detail requires more than marking a note on a set of plans. The architectural drafter must intimately understand water management principles, material limitations, and real-world construction sequencing. This attention to detail is what differentiates robust, code-compliant assemblies from those that merely meet minimum requirements on paper but fail in service. Detailed drawings and specifications should anticipate the most likely points of failure and build in redundancy to account for Alberta’s climate as well as the variability of on-site execution.
Essential Elements to Include in Kickout Flashing Drafting
- Explicit Graphic Representation: Illustrate the flashing profile in both plan and section views, highlighting the diverter’s angle (typically at least 100° out from the wall), upturned height, and the overlap with both the roofing and wall cladding layers. Indicate the precise starting point (at the lowest course of step flashing) and show the full path of runoff.
- Material Specification: Note the gauge, finish, and corrosion-resistance requirements: galvanized steel (min. 0.33 mm), copper (min. 0.46 mm), or aluminum (min. 0.48 mm). Specify compatibility with adjacent materials - for example, avoid aluminum with ACQ-treated lumber to prevent galvanic corrosion.
- Integration with WRB (Water-Resistive Barrier): Show how the flashing “shingle laps” over the water-resistive barrier/housewrap, rather than being tucked beneath, to promote outward drainage at every joint.
- Coordination of Sequencing: Include notes on the required installation order: kickout flashing is installed before siding is completed, but after roofing underlayment, to allow for continuous path for water egress.
- Attachment and Sealing: Specify fastener types (corrosion resistant), locations (hidden wherever possible to avoid direct exposure), and approved sealants for joints and penetrations.
- Reference to Manufacturer’s Instructions: For prefabricated components (plastic or metal), call out reference to specific approved products and their installation documentation.
Recommended Detail Sheet Inclusions
- Enlarged Detail Views: A minimum 1:5 or 1:10 scale drawing of the kickout area, with callouts for all layers including roof sheathing, underlayment, WRB, step/sidewall flashing, cladding, and gutter interface.
- 3D Isometric Detailing (where available): Showing the spatial relationship of roof slope, wall plane, gutter and diverter for contractor clarity.
- Flashing Schedules: Tabulate all critical dimensions, fasteners, and sealant types, referencing drawings by detail number to remove ambiguity for trades on site.
The clearer the drafter’s intent, the lower the risk of oversight during hurried construction phases - especially in Alberta where site crews often contend with sudden weather shifts and abbreviated build seasons.
Code Compliance: NBC(AE) 2023 on Flashing at Roof-Wall Intersections
Section 9.26 of the NBC(AE) enforces the principle that where “the eave of a sloped roof intersects a vertical sidewall, flashing shall be installed to divert water away from the wall assembly.” While the code is performance-based and does not always prescribe specific geometries for kickout flashings, the expectation is clear: water from the roof cannot be allowed to run down the wall below the eave, whether the cladding is masonry, fiber cement, EIFS, vinyl, or composite.
The performance requirement underpins the choices in drafting: the detail must show not only the requisite flashing, but also its overlap with step or sidewall flashing, its outward projection (angled or “kicked out” a minimum of 25 mm from the wall is best practice), and its durable integration into both wall and roof assemblies. Failure to comply in documentation may be flagged by municipal building officials or, worse, discovered as costly water damage months or years post-occupancy.
Material Requirements per NBC(AE) Standards
- Corrosion Resistance: Alberta’s climate - including high UV exposure, wind-driven rain, chinook conditions, and fluctuating moisture levels - demands robust, non-degrading flashing materials. Galvanized steel, copper, and aluminum are permitted, provided they meet minimum thicknesses outlined in the code: 0.33 mm for galvanized steel, 0.46 mm for copper, 0.48 mm for aluminum.
- Material Compatibility: Notes in the detail must warn against direct aluminum contact with highly alkaline treated wood or with masonry mortar, which accelerates corrosion via electrolytic reactions. The architectural drafter’s responsibility includes specifying isolation membranes if mixed materials are unavoidable.
- Continuous Coverage: Flashing runs must be continuous, with laps and joins carefully sealed. The drafter must reference product installation instructions and, in hand-formed details, specify that all joints be hemmed, folded to a drip edge, or welded/soldered to eliminate capillary gaps.
Flashing Integration and Roof-Wall Geometry
- Slope Considerations: The detail must account for the pitch of the roof; lower slopes shed water slowly and are more likely to require oversized or extended diverters to keep water moving toward the gutter, especially with snow melt and ice dam conditions.
- Wall Thickness and Protrusions: Overhangs, decorative trim, and brick ledges should be noted in detail sections and plan views, as all increase the risk of water “splash-back” if the kickout is undersized or poorly projected.
- Gutter Alignment: The flashing must direct water cleanly into the gutter. An architectural drafter can anticipate potential gutter misalignments by dimensioning the kickout location and including “coordinate in field” instructions for the installer if gutters are set post-roofing.
Material Selection: Field-Proven Options for Alberta Conditions
Flashing durability in Alberta is not a theoretical concern. Sub-zero winters, high-salt exposures near roadways, and steep UV loads in summer all conspire to break down inferior flashing or lead to premature failure of fasteners and sealants. Selecting from code-approved materials, while necessary, is only half the battle; understanding the performance profile of each material type is what turns a code-compliant detail into a durable assembly.
Galvanized Steel Flashing
- Recommended for its structural integrity and impact resistance. Provided it is G90 or heavier, galvanized steel also resists most fastener-caused deformation, which can create pathways for water leaks at screw or nail penetrations.
- A minimum thickness of 0.33 mm is required, but for high-exposure areas, specifying 0.5 mm is a practical upgrade to reduce oil canning (waviness from expansion/contraction) and accidental damage during installation.
- Cut edges should be field-painted with appropriate anti-corrosion primers (zinc-rich) to repair any breached galvanic layer incurred during fabrication.
Copper Flashing
- Superior longevity and resistance to all forms of corrosion, including those caused by direct contact with wood preservatives or cementitious products. However, cost and theft risk often limit its use to high-value custom homes.
- Minimum thickness of 0.46 mm ensures rigidity without excessive weight.
- Patinas naturally to a green or brown finish, which should be considered in aesthetic reviews.
Aluminum Flashing
- Most commonly used for its light weight and malleability. It is easily field-formed and is widely available in coated and uncoated profiles.
- A minimum thickness of 0.48 mm is required. Thicker gauges resist oil canning better and allow for tighter bends at the kickout “diverter” position.
- Requires isolation from masonry or treated wood. Pre-finished coatings should be specified for all above-grade exposures to limit UV degradation.
Prefabricated vs. Custom-Formed Flashings
- Prefabricated kickout flashings (plastic or metal) are designed with critical geometry baked into the product: consistent angle, radius, and upturned leg. Molded plastic units, while vulnerable to UV damage if not well-shielded, completely eliminate leaky lap joints.
- Metal products can be factory-welded or soldered at seams, creating a water-impervious “bathtub” at the critical diverter location. For custom homes or unusual wall thicknesses, a custom-formed metal diverter may still be indicated - and should be drawn precisely to site conditions.
- Plastic units, such as those from Kickout Flashing® or similar brands, should be called out by specific product code or manufacturer, and their compatibility with solvent-based adhesives or fasteners confirmed.
Installation Best Practices: What Drafters, Builders, and Subtrades Must Know
Effective water management at the eave-wall intersection is only achieved when construction documents are both comprehensive and practical. Detailed installation sequencing notes, cross-trade coordination, and redundancy in waterproofing layers can mean the difference between a 50-year cladding life and a callback for rot within 5 years of occupancy.
Integration with Roofing System
- Show the kickout flashing as the first piece in the sequence of step flashings running along the wall. Each subsequent step flashing should overlap the previous, always in shingle fashion, relying on gravity to keep water flowing out and away.
- Underlayment (typically synthetic or #15 felt) should run up the wall and under the bottom of the kickout diverter, then be lapped by the WRB and wall cladding. This ensures any leakage past the siding will still be ferried out to daylight.
- Call for continuous bed of compatible sealant where the kickout diverter tucks under the starter shingle, and where it mounts against the sidewall. Structural fasteners (never finish nails) should be specified at least 50 mm from any diverter kink to prevent splitting the flashing with thermal cycling.
Size and Placement of the Kickout Diverter
- The diverter “kick” should measure at least 25-50 mm out from the wall face and extend upward along the wall a minimum of 100 mm above the roofline, sized further for roofs handling large drainage areas or snow loads.
- Show the diverter terminating after projecting over and into the gutter run by at least 25 mm. In high-exposure areas, upsizing the diverter provides additional margin against wind-driven rain that can bypass narrow diverters in peak storms.
- Dimension this placement from fixed reference points - edge of drip edge, face of wall sheathing, and gutter centerline - so that the framing and roofing trades can coordinate in the field without ambiguity.
Sealing, Fastening, and Redundancy
- Use only non-reactive, corrosion-resistant fasteners (e.g., stainless steel, hot-dipped galvanized) appropriate to the chosen flashing material.
- Seal all laps, cuts, and penetration points: recommend high-quality polyurethane or butyl-based sealants for longevity, both in resisting UV degradation and maintaining flexibility at expansion/contraction joints.
- For extra protection, some details may call for a secondary flexible flashing membrane (such as self-adhered rubberized asphalt) beneath the metal diverter, extending both up the wall and out onto the roof sheathing before shingle or metal panels are installed. This "belt and suspenders" approach is especially valuable on wind-exposed or water-sensitive elevations.
Coordination Between Trades
- Kickout flashing fits at the confluence of roofing, siding, and sometimes gutter trades. Detailed notes and explicit callouts must direct the installer to fit the diverter before wall cladding or masonry is finished, but after the completion of roofing substrate. If left to “by others” catchall notes, the sequence is easily missed and the diverter omitted entirely.
- On site, discrepancies arise most often when the drafter’s intent is not clearly marked and reinforced during field meetings or by onsite supervision. Including photos, isometric views, and “install before” checklists in the permit/construction set strongly reduces omissions.
Common Failure Modes and Remedial Strategies
In Alberta, post-occupancy inspections and forensic studies repeatedly reveal one persistent theme: either kickout flashing is missing, or it has been installed incorrectly. Such failures are so widespread that many envelope failures diagnosed in the first decade of cladding life can be traced directly back to inadequate kickout detailing or installation.
Typical Problems Encountered
- Omission Due to Lack of Detail: Inadequate or absent section/plan details lead installers to skip the diverter, especially during busy roofing operations or when schedule pressure mounts.
- Undersized Kickout Diverters: An insufficient “kick” projects water only a few millimeters from the wall, allowing splash-back or capillary migration behind siding. Alberta’s wind and freeze-thaw conditions exacerbate this, causing ice dams and water tracking along structural components.
- Improper Shingling of Layers: Flashing buried beneath the WRB or tucked behind wall cladding allows water to infiltrate between building layers, saturating OSB or plywood sheathing and potentially supporting hidden microbial growth.
- Joints and Seams Left Unsealed: Especially common with hand-formed metal diverters, field laps or dents are not always sealed or welded, creating “pinch points” for water intrusion during heavy storms or melting events.
- Mismatched Materials: Use of inappropriate fasteners or failure to provide separation between dissimilar metals/masonry accelerates flashing and fastener deterioration, ultimately allowing water to enter via corrosion holes.
Solutions and Preventative Strategies
- Use of Prefabricated Kickouts: Molded plastic or factory-welded metal diverters provide consistent geometry and eliminate the most common cause of leaks - open seams. Documenting these products on plans, with manufacturer references, reduces installer judgment calls that lead to errors.
- Enhanced Field Supervision: Include photographic guides or QR code-linked videos in construction documents, backing up details with visual instruction for installers. Progressive inspection checklists for envelope closure should highlight diverter presence and correct sizing as a mandatory sign-off item before wall closure.
- Mockups and Training: For larger developments or custom homes, specify onsite mockups of the roof-wall transition showing kickout execution, allowing general contractors and envelope consultants to review and correct before mass installation proceeds.
- Redundant Weather Barriers: Where site conditions are complex or previous failures have been documented, call for redundant WRB layers or fully adhered waterproof membranes both under and over the diverter location, overlapping like shingles to promote outward drainage at every plane.
- Material-Specific Detailing: When wall assemblies are masonry or EIFS, specify “through-wall” flashing and drip edges in addition to the kickout, extending waterproofing redundancy where mortar joints or insulation interfaces add risk. All transitions should be noted in drawings, not left to field interpretation.
Architectural Drafting: Adding Value through Flawless Kickout Flashing Details
For residential projects in Alberta, the measure of a successful envelope design is not just code compliance but also real-world durability and resilience in the face of weather extremes. By rigorously detailing kickout flashing at every roof-wall interface - in plans, sections, details, and installation notes - architectural drafters can ensure that this small but vital building component does its job for the life of the structure.
A deep familiarity with the NBC(AE), as well as direct field knowledge of how trades interpret documents, allows for proactive defense against all-too-common mistakes. A well-drafted kickout flashing detail, using clearly specified, code-approved materials and practical installation sequencing, is a proven investment in client satisfaction, reduced service calls, and lower long-term liability for both builder and homeowner.
Cumulative Benefits of Proper Kickout Flashing Documentation
- Prevents Water Intrusion and Hidden Damage: Effective kickout flashing preserves wall sheathing, framing, insulation, and interior finishes from water decay, particularly during wind-driven rain, chinook melts, or prolonged precipitation events typical in Alberta’s climate.
- Reduces Callbacks and Warranties: Clear details mean correct installation the first time, minimizing costly repairs for builders and warranty claims for new home owners.
- Supports Building Official Approvals: As municipalities and code authorities become more stringent on envelope protections, comprehensive kickout flashing details smooth the permit process and avoid costly site corrections or delays.
- Safeguards Occupant Health: By blocking water entry at a critical intersection, kickout flashing helps prevent mold growth and its associated health risks, creating safer, more comfortable interior environments in Alberta homes.
- Enhances Property Value and Longevity: Homes built with attention to such details prove their worth decades after construction, retaining structural integrity, minimizing maintenance costs, and holding salability in a demanding market.
Expert Recommendations: Drafting Kickout Flashing for Alberta Projects
- Never Rely on “Standard Details” Alone: Each roof-wall intersection is unique: overhang size, wall type, slope, and local wind exposure must all factor into the kickout’s size, shape, and placement. Adjust detail sheets to project conditions, not just precedent.
- Call Out All Layers: Annotate every material in the roof and wall assembly in your detail - from underlayment and step flashing to WRB, siding, and the fasteners, including all overlaps and sealant points.
- Show Both Plan and Section Views: Most installer or inspector errors are the result of poor visualization. Detailed, scaled graphics in plan, elevation, and isometric remove ambiguity and reduce field errors.
- Include Manufacturer Data: Where prefabricated kickouts are used, specify them in your documents with make, model, and approved installation requirements, referencing current Alberta Building Product approvals when available.
- Peer Review or Envelope Consultant Input: For complex projects, subject your kickout detail sheets to review by a building envelope consultant and incorporate field feedback to eliminate blind spots.
- Documentation of Installed Condition: Encourage photo documentation at the time of installation - ideally with a copy inserted into the as-built set. This provides essential evidence of compliance should issues ever arise.
Conclusion: Kickout Flashing as the Keystone of Durable Roof-Wall Intersections
In the context of Alberta’s severe and unpredictable weather, the ongoing value of thoughtfully specified and precisely drafted kickout flashing cannot be overstated. Preventing water intrusion at roof-wall intersections is more than a code minimum - it is a fundamental requirement for the long-term resilience, health, and value of residential structures. By rigorously interpreting and implementing the NBC(AE) 2023 requirements, using only approved, durable materials, and documenting best practice installation sequencing, every project can achieve the peace of mind that comes from robust building envelope design.
From architectural drafting to field coordination, every step in kickout flashing design and documentation is an opportunity to protect homes, minimize risk, and set a standard for quality construction in Alberta. Kingsway Drafting & Design sets the benchmark for comprehensive, code-compliant drafting services tailored to the needs of Alberta’s residential builders and developers.