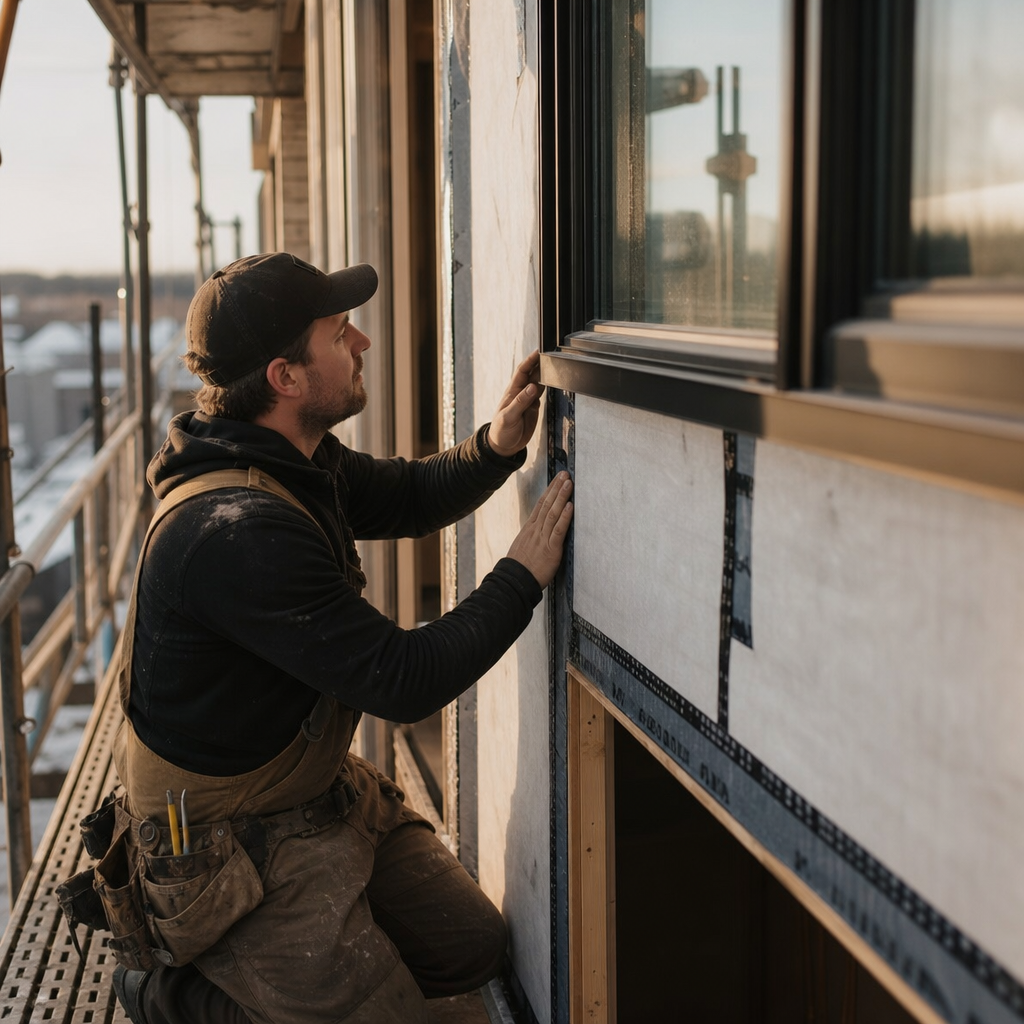
Effective detailing of exterior window and door trim connections to weather barriers in Alberta requires thorough and precise adherence to the National Building Code - 2023 Alberta Edition (NBC(AE)), supplemented by local permit and zoning amendments. Coordinating the weather and air barrier continuity at each opening, explicit rough opening preparation, rigorous specification and sequencing of materials, trim-to-barrier integration, and comprehensive redline management are essential for both construction drawings and on-site execution. Each of these aspects is critical to protecting Alberta homes and multifamily buildings from moisture ingress and to ensuring that construction passes both plan review and field inspection with minimal deficiencies.
Alberta Building Code Division B Part 9 Requirements: Opening Protection, Flashing, and Barrier Continuity
Code Mandates for Window and Door Openings
Division B, Part 9 of the NBC(AE) 2023 prescribes explicit requirements for the protection of window and door openings, with a focus on preventing water and air infiltration through properly designed, specified, and sequenced flashing, membranes, and sealants. The most cited sections relevant to exterior trim and weather barrier detailing are:
- 9.27.3.7. Flashing Materials: "Flashing shall be of sheet lead not less than 1.73 mm thick, galvanized steel not less than 0.33 mm thick, copper not less than 0.46 mm thick, zinc not less than 0.46 mm thick, aluminum not less than 0.48 mm thick or vinyl not less than 1.02 mm thick."
- 9.27.3.8. Flashing Installation: "Flashing installed over exterior wall openings shall extend not less than 50 mm upward behind the sheathing membrane… shall be sloped outward at not less than 6%… terminate with end-dams at each end not less than 25 mm in height… lap vertically not less than 10 mm over elements below… and provide a drip offset not less than 5 mm outward."
- 9.27.4.1. Required Sealants: "Exterior joints between framing and exterior cladding at window/door openings shall be sealed."
- 9.27.4.2. Sealant Materials: "Sealants must be non-hardening, exterior-grade, weather-resistant, and compatible with adjoining materials."
Drawing Notes, General Statements, and Cross-References
Standard architectural sheets must clearly show:
- Flashing call-outs: Example - "0.33 mm (26 ga) prefinished galvanized steel head flashing, slope 6% min., end dams 25 mm high, full width of window, extend 50 mm min. up behind WRB; provide 5 mm drip."
- Sealant notations: "Apply sealant, exterior-grade polyurethane conforming to CAN/CGSB-19.13, between window frame and cladding."
- Detail references: "Refer to Detail 2/A6.2 for head/jamb/sill interface construction."
- Material schedules and code references: Tables for "FLASHING MATERIALS" and "SEALANT TYPES" listing standards (ASTM, CGSB) and thickness.
Common Plan-Review Comments and Redlines
Plans not meeting Part 9 code or material standards often receive redlines such as:
- "Flashing not shown at horizontal transitions above/below windows and doors - add detail per 9.27.3.8."
- "Verify all sealant interfaces specified per 9.27.4.1; provide schedule of compatible product types."
- "Detail end-dams and flashing slope; note materials and lapping per 9.27.3.7 & 3.8."
- "Flashing thickness and WRB lap not dimensioned - not code compliant."
- In City of Calgary permits, the B23-012 advisory requires: "Confirm window/door protection at unenclosed exterior stair landings per municipal guidance."
Dimensioning and Specification Practices
Documents must directly annotate all critical code dimensions:
- Head, sill, and jamb flashing upstand: 50 mm min.
- Flashing upturn at end-dams: 25 mm min.
- Overlap between building elements (membranes, WRB): 100 mm min.
- Metal flashing thickness: 0.33 mm min. (galv.)
- Slope: 6% min. (1:16 or 1/8"/ft preferred)
Standardized Drawing Details: Rough Opening Preparation and Flashing Sequences
Sill Pan Construction Practices and Documentation
Detailed plans must illustrate the sill pan as a self-contained, sloped water-management tray, dimensioned and annotated as:
- "Form pan with slope to exterior (min 6%), 50 mm min. vertical leg at back (interior), integrate with WRB."
- "Provide end-dams 25 mm min. upturn at jamb returns, sealant at each interface."
- "Lap sill pan 100 mm min. under jamb and head membranes in shingle fashion."
Membrane-sill combos are detailed with:
- "Self-adhered flexible flashing (ASTM D1970) at sill, extend 100 mm up jambs, 200 mm over face of sheathing; back dam min 20 mm."
Jamb and Head Flashing Integration
Drawings must show jamb flashing lapped over pan and under head flashing, including:
- "Install continuous self-adhered flashing vertically at jamb extending min 100 mm above head, overlap sill pan beneath."
- "Head flashing extends beyond jamb, aligns with WRB lap above; provide 10 mm min. vertical overlap of WRB over head flashing."
Dash-dotted lines or distinct hatch patterns denote different membrane layers and flashed intersections.
Shingle-Lapping and Overlap Dimensioning
Elevation and plan details emphasize shingle-lapping (upper layers always outside lower) and minimum overlaps:
- WRB overlap: 100 mm horizontally (9.27.3.3.(2)).
- Membrane-to-membrane vertical lap: 150 mm (typically for WRB-to-WRB).
- All flexible/self-adhered sheets to extend at least 50 mm beyond the edge they protect.
Annotations include "Lap WRB over head flashing by 100 mm min., never inverted."
Sealant Bead and Fastening Schedules
Drawings and schedules must call out:
- "Continuous bead of compatible sealant (CAN/CGSB-19.13) at sill pan/end dam/jamb interface."
- "Apply sealant between window/door flange and WRB after unit installation, tool into joint."
- Fastener notes: "Use corrosion-resistant screws, 6" o.c. (150 mm), per mfr. spec., windows set plumb, square, shimmed at anchor points only."
Redline Triggers and Review Practices
- Insufficient pan or flashing slope: "Revise section to increase slope and extend end-dams."
- Missing membrane overlap: "Detail WRB lapped 100 mm min. over flashing-add section annotation."
- No explicit sealant call-outs at critical interfaces-"Add bead and material spec at all membrane/flashing transitions."
Material Specification, Notation, and Installation Sequencing
Material Identification and Drawing Call-Outs
Coordinated plans must specify code- and standard-compliant materials with explicit notations:
- Self-adhered flexible flashing: "Self-adhered membrane, ASTM D1970/CGSB 37.56, min. 1.0 mm thick, extend 200 mm beyond opening perimeter."
- Fluid-applied WRB: "Fluid-applied WRB, applied thickness per mfr., tested per AATCC 127 and ASTM E2357; compatible with all window, flashing, and sealant materials in assembly."
- Sealants: "Sealant, CAN/CGSB-19.13 or ASTM C920, exterior-grade, low modulus, compatible with adjacent substrates."
Sequencing Relative to Window/Door and Framing
Labelled installation sequencing (with keynoted steps in drafting):
- Rough opening prep: Clean, prime if required, apply self-adhered membrane to bottom, jambs, head in sequence; extend onto face of sheathing.
- Sill pan install: Form with back dam and end-dams; membrane lapping under jamb/jamb+head.
- Window/door install: Place unit within prepped opening; anchor per schedule; leave bottom flange free for drainage or spot-fastened per mfr.
- Jamb/head membrane: Apply jamb flashing overlapping sill, head flashing lapping over jambs, tucking behind WRB.
- WRB and cladding closure: WRB and/or rain screen, stucco, siding to be cut, integrated, and sealed to maintain full drainage plane.
Dimensioning and Schedule Examples
- "Jamb/Head/Sill membrane lap: 100 mm min. at all overlaps"
- "Head flashing upstand: 50 mm min. per 9.27.3.8(3)"
- Material schedule table: "Flashing: Prefinished galv. steel, 0.33 mm min.; Self-adhered membrane: Bitumen rubberized, 1.0 mm+."
- "Sealant: Polyurethane, CAN/CGSB-19.13 compatible with membrane/flashing material below;" referenced specifically at each sash interface.
Redlines: Compatibility, Overlap, and Detailing Omission
- "Revise material schedule-membrane not labeled to ASTM/CGSB; add compatibility note for sealant and adjacent surfaces."
- "Increase membrane overlap at jamb/sill-minimum 100 mm required, clarify sequence with step labels 1-5."
- "Specify thickness for fluid-applied WRB-reference ASTM application standard."
Exterior Trim Connection to Weather Barriers: Drainage, Weeps, and Sealant Interface Detailing
Drainage Plane Maintenance and Trim Stand-off
Exterior trim detailing is critical where brick moulds, drip caps, or casings interface with the WRB, cladding, and window/door units. Standard sheet details call for:
- "Maintain continuous drainage plane behind brick mould or trim; provide 10 mm (3/8") stand-off from primary WRB with non-absorptive spacers if required by manufacturer."
- "Trim fasteners to penetrate only sheathing and trim, not WRB, or seal all penetrations with compatible sealant."
Weep Hole Integration and Sizing
Weep holes are often required behind brickmould or masonry for drainage:
- "Provide weep holes at base of brick mould trim or masonry at 800 mm max. spacing, 6 mm min. diameter per ABC & CSA A440."
- "Locate trim no less than 10 mm above flashing for drainage; do not caulk bottom edge."
Backer Rod and Sealant Joint Dimensioning
Where trim abuts cladding or frames, the following are annotated on plans and schedules:
- "Backer rod diameter 25% larger than joint width; sealant width 2x depth; 6 mm min. width, tooled concave, CAN/CGSB-19.13 compatible."
- "Maintain movement zone between rigid trim and cladding by gap/caulking arrangement, continuous perimeter bead."
Symbol legend distinguishes insulation, backer rod, and sealant with unique hatching and solid lines in detail callouts.
Flashing and Trim Integration Detail References
- "Refer to Section 3/A7.1 for brick mould over WRB with cap flashing-note 10 mm vertical clearance above drip edge, weep holes, end-dams at each horizontal run, and continuous bead at all vertical joints."
- "Detail 5/A7.2 for drip cap integration with vinyl/aluminum window head-metal flashing behind WRB, front edge projecting past face of trim, not sealed at lower edge."
Redline and Site Deficiency Triggers
- "Weep holes not legible on section-add dash/hole symbols and leader call-outs at each trim base."
- "Sealant joint depth/width not dimensioned-add to detail; specify backer rod type and movement tolerance."
- "Trim interface with WRB unclear-add 10 mm min. stand-off dimension; clarify fastener type and sequence."
Plan-Review Redlines and Jobsite Deficiency Call-Outs: Common Issues and Corrective Drawing Notations
Inverted Shingle Laps and Incomplete Weather Barrier Transitions
Redlines frequently cite improper water-shedding layering:
- Plan review call-out: "Revise membrane lapping-upper WRB layer must always overlap head flashing, never under; revise all sill/head/jamb sequences."
- Drawing correction: "Lap WRB over head flashing by 100 mm min., maintain continuous water drain path."
- Jobsite fix: "Remove siding/WRB to reroute head membrane over flashing-add end-dams if omitted."
Missing End Dams and Sill Pans
Absence of end dams at horizontal flashings directly violates 9.27.3.8 and is a top deficiency trigger:
- Permit comment: "No end dams at pan flashing-add 25 mm min. upturn each end, extend to face of trim."
- Drawing notation: "Sill pan flashing: end dams both sides, 25 mm upturn, continuous bead at jamb/pan intersection."
- Site correction: "Install preformed or site-bent pan with end dams sealed to adjacent membrane; test by pouring water at head/flashing intersection prior to siding."
Sealant Compatibility and Interface Failures
If incompatible sealant is specified against membrane or metal, failures and redlines result:
- Redline: "Specify compatible sealant-current detail calls out generic silicone, not listed for use with bituminous membrane."
- Correction: "Sealants to be mfr.-recommended for both window material and membrane (BIT/PE/EPDM), CAN/CGSB-19.13 compliant."
- Site correction: "Remove failed bead; clean, prime, install compatible sealant per mfr.; check adhesion after 3 days."
Inadequate Rough Opening Preparation
- Redline: "No membrane at rough opening-add full self-adhered membrane/WRB transition schedule at all window/door jams, head, sill."
- Correction: "Apply self-adhered membrane, 200 mm wide, to all interior faces and perimeter of rough opening prior to window installation; integrate with adjacent WRB."
- Field observation: "Unsealed sheathing at left jamb; remove flange, install membrane, reseal."
Incomplete WRB and Flashing Transitions
- Permit redline: "Ensure WRB and all flashing install in seamless sequence-no gaps at corners, tape all joints."
- Correction notation: "Lap WRB min. 100 mm over all flashing; extend side/jamb membrane full height of opening, tape all overlaps with mfr.-approved tape."
- Site remedy: "At deficient locations, install WRB patches shingled over flashing, tape, retest for water tightness."
Drawing-Sheet Call-Out Examples of Best Practice
- "Head flashing: prefinished aluminum, 50 mm upstand, end dams 25 mm, 6% slope, 5 mm drip edge, extend 25 mm each side past frame; lap WRB 100 mm over top, seal at joints."
- "Sill pan: self-adhered flexible membrane to ASTM D1970, slope 6%, back dam 20 mm, end dam 25 mm; integrate with jamb and head flashing, continuous bead at membrane transitions."
- "Sealant: Polyurethane, CAN/CGSB-19.13, width 2x depth (6 mm min.), over backer rod 25% greater diameter than joint, tool concave, provide movement joint at all trim-cladding intersections."
- "Weep: 6 mm dia. every 800 mm at trim base or lead out of masonry above all flashings."
Conclusion
Meticulous detailing and explicit dimensioning in architectural drawings are the cornerstone of durable, code-compliant window and door trim interfaces with weather barriers in Alberta. Reference to NBC(AE) 2023 Division B, Part 9, and strict adherence to material standards (ASTM D1970, CGSB 37.56, CAN/CGSB-19.13) must be built into both design documents and construction practice, with all sequencing, dimension, membrane, and sealant standards unambiguously noted on plan sheets. Addressing the most common plan-review and jobsite deficiencies-from inverted shingle laps to missing end dams and incompatible sealant-requires comprehensive schedules, robust detail coordination, and continuous review from plan development through site execution. Consistency in these practices enables quality assurance across all scales of residential work in Alberta’s demanding climate.
Kingsway Drafting & Design specializes in creating fully detailed, code-compliant drawings for Alberta homes and multifamily buildings, supporting builders and trades with the clarity and rigor required for flawless window and door installation.